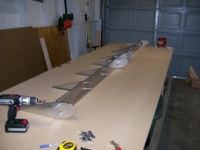
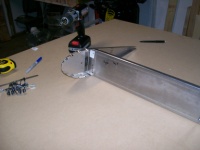
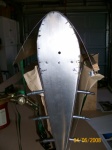
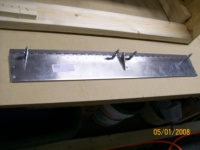
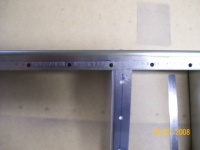
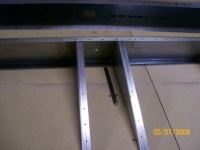
The rudder skeleton drilled to #40 and cleco'd.
|
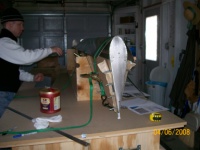
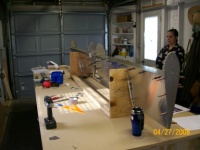
I cleaned the table before taking pictures - I tend to be a bit messy while working. I used the cordless drill instead of the Sioux air drill because I thoughtit was a bit cold to start up the compressor.
|
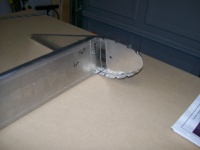
This blurry photo shows the first hole I drilled for the entire CH801 project (excluding the rudder worlshop). It's the second cleco from the top. One down, 10,753 left to go.
|
 |
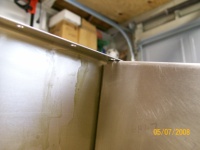
This little bugger was harder than it looks. Well, I guess since it was the last thing to do that perhaps I was getting a bit tired.
|
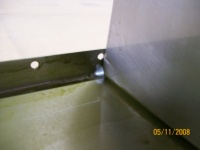
Hinge pins are in place.
|
|
|
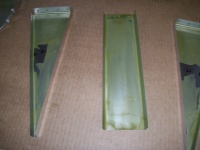
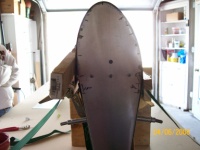
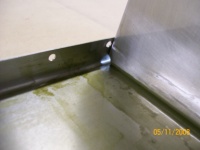
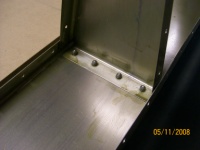
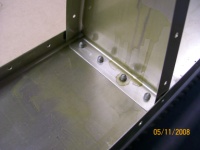
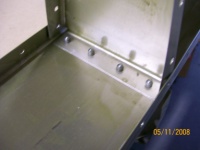
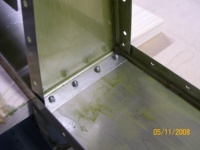
Brushed on PTI zinc oxide primer on all faying surfaces and on most exposed surfaces. I'll get the entire structure prior to riveting the skins.
|
|
|
|

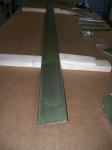
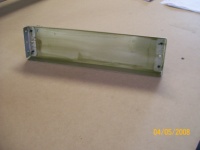
Hige pins. Two coats SEM self-etching primer followed by two coats pf Rustoleum \"Professional\" gray. That should keep the rust at bay.
|
|
|
|
|
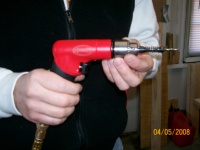
This drill rocks.
|

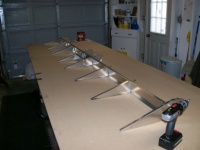
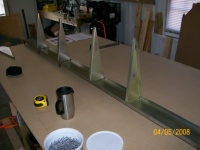
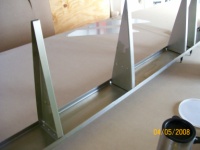
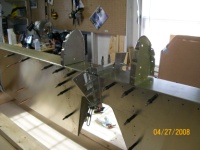
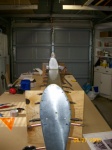
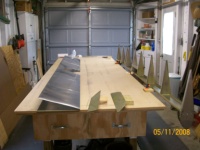
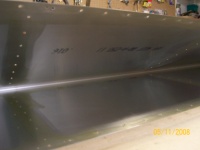
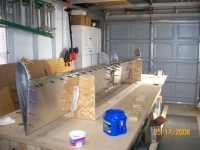
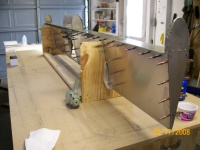
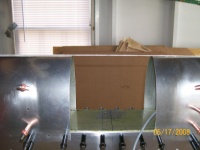
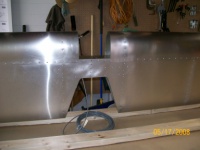
Rear skin is cleco'd in place and the elevator is placed in a jig to hold it vertical.
|
|
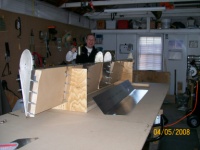
Ben is happy.
|
Ben is slightly strange.
|
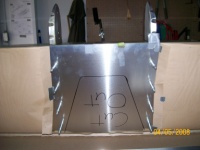
The nice folks at Zenith marked the \"cut out\" area on the rear elevator skin.
|
|

|

Ben looks stoned (actually, I'm high on life - not high on drugs...)
|
|
|
|
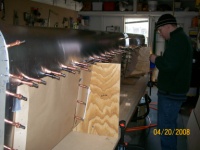
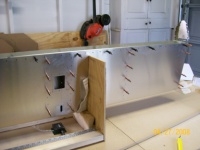
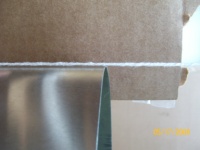
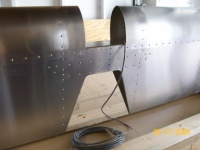
The right nose skin in in place. The left will be strapped down the same way before holes are drilled.
|

Is that sushi? Why yes, it is. In fact, Carmen and I made this ourselves. Just the normal Friday night sushi thing at the Church household. Seeing as Bob likes the Meijer's sushi so much, perhaps this will entice him further to make a site visit.
|
|
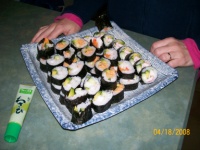
It's all cooked - nothing raw (no good sashimi in Racine). We have shrimp, spicy tuna, and crab.
|
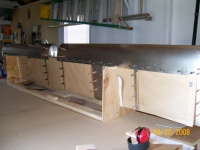
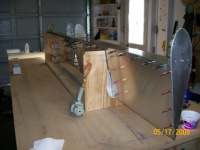
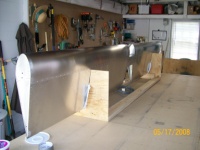
Nose skins in place and celco'd. Right here I'm in process of opening all holes along the spar to #20.
|
|
|
|
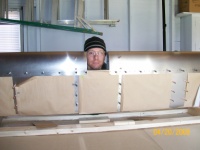
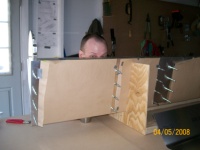
Peak-a-boo
|

Carmen comes out to lend an encouraging word.
|
|
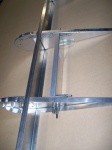
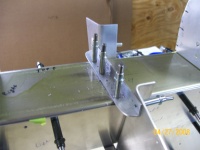
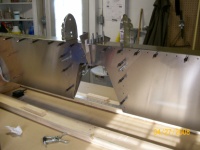
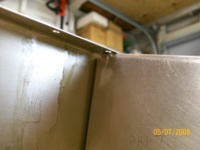
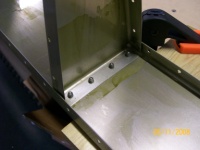
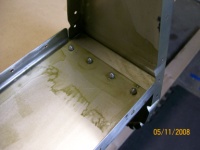
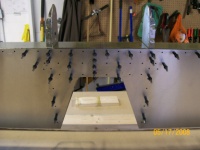
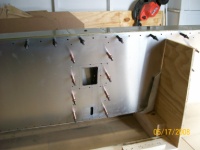
Location of the trim tab motor cover plate (square) and the actuator pass-through (rectangular) on the bottom left elevator skin.
|

Better view of the cover hole and pass-through. The cover hole dimensions as called out in the manual was larger - too large to allow for proper edge distance with the rivet holes in the cover plate. So I made mine smaller - I checked and I can pass the trim tab motor through this hole.
|
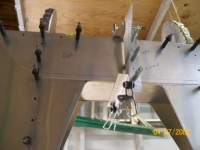
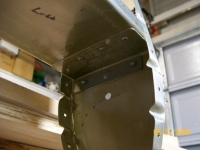
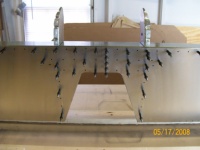
Elevator control horns. Also note the cut-out beneath the control horns to allow movement of the rudder.
|
|
|
|
|
|
|
|
|
|
Ummm...
|
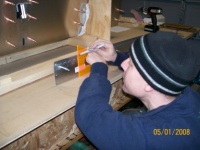
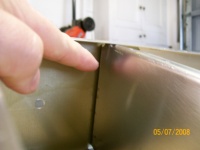
Transferring the rivet line from the trim tab to the opposite side of the hinge.
|
Ben makes it look so easy. Tough thing here was to avoid drilling completely through the top skin of the elevator. I used the drill stop to set a depth that would only go through the hinge and the bottom skin.
|
|
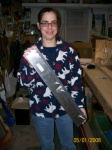
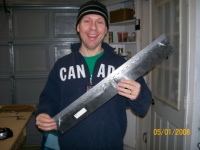
Carmen modeling with the trim tab.
|
|

Ben making sushi.
|
|

Cooked shrimp, japanese omelet (tamago yaki), avocado, shiitake, carrots, cucumber , green onions, wasabi.
|

I swear I'm not stoned.
|

Bob - This is what you can expect at your next site visit.
|
|
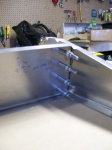
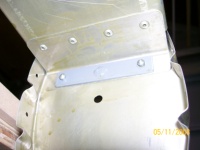
A boo-boo. Look at 1 o'clock from the tip of my finger and you will see a mark I made in the rib when drilling through the skins and spar. I did this on both ribs that straddle the trim tab servo on the bottom side.
|
Outboard of the two nicked ribs.
|
Top view - you can see how that rivet hole location is doomed for interference.
|
|
These two ribs were nicked.
|
Here is the view after I went at the nick with a dremmel, sandpaper, and scotchbrite. Not perfect but I think it will do.
|

Outboard rib after removing nick.
|
|

Gusset plates after priming.
|
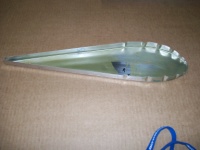
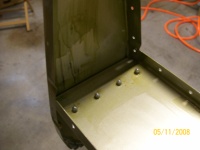
After priming the skeleton and skin with PTI zinc oxide (used a foam brush, reduced with PTI reducer).
|
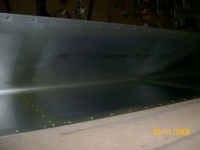
The inside of the skin got primer only on the rivet lines. The nose skins were primmed on the entire inside surface.
|
|
Another view of the skin interior. After talking with the program manager, I later went back and primed the entire inside surface of the rear skin with the PTI zinc oxide.
|

Gusset plate region was all primed.
|
See the nick?
|
|
Outboard rib with remnant of nick.
|
Right tip rib - rear of spar.
|
Inboard from right tip rib.
|
|
|
|
|
|

|
|
|
|
|
Left tip rib with the elevator hinge pin (gray) visible.
|
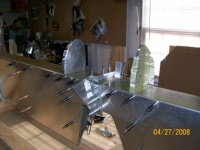
Rear skin is assembled and in jig. Ready to rivet the ribs.
|
|
|
|
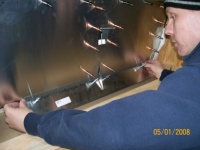
Look at all those holes... Good thing the blind rivets go really fast.
|
|
|
|
After riveting the ribs and most of the gusset, the nose skins go back on so the spar line can be riveted. The wire is for the trim tab servo.
|
|
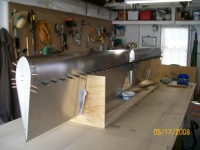
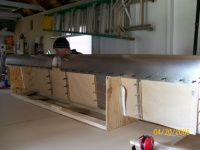
Ready to rivet the nose skin and spar.
|
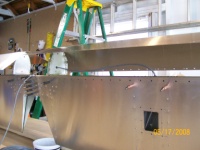
String checking for alignment of elevator. Looks good.
|
|
|
|
All riveted - except for the control horns and trim tab. All that will be done at final assembly to the fuselage.
|
|
|
|