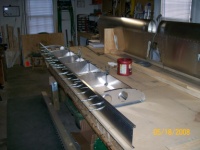
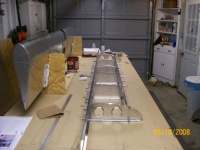
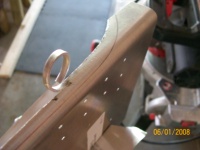
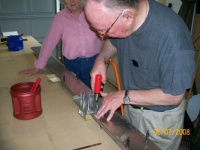
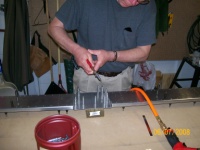
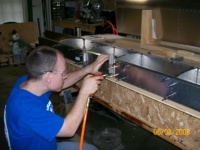
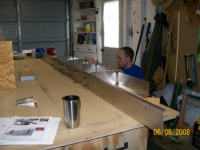
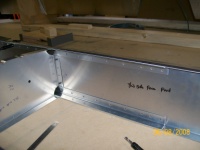
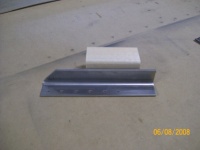
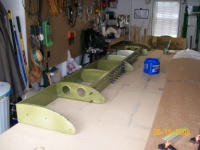
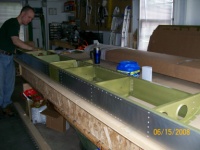
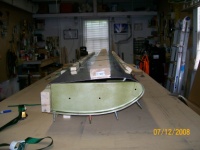
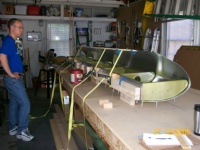
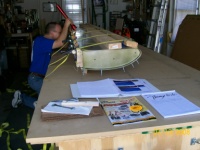
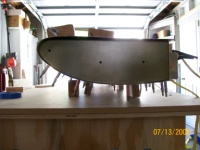
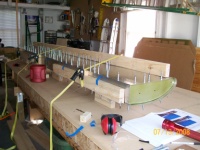
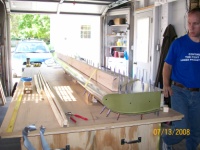
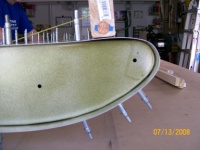
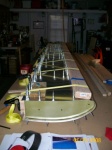
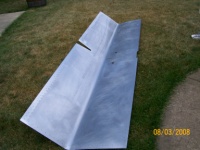
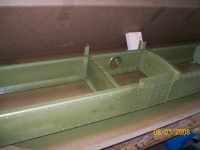
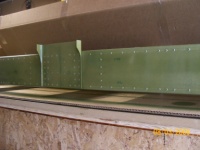
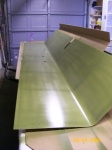
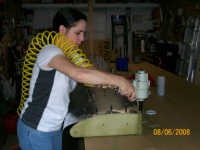
The long channel is the rear spar. The stabilizer is built inverted so the top is actually the surface touching the table.
|
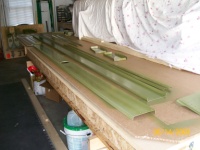
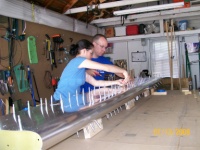
Prior to this, I've already installed doublers to the rean and front channels. Here, I've also got the ribs cleco'd to the rear channel and the front channel is clamped.
|
|
 |
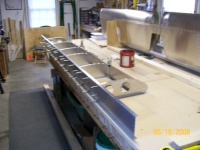
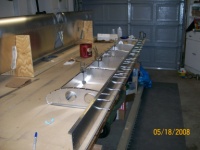
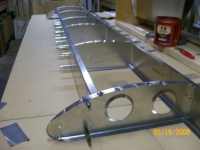
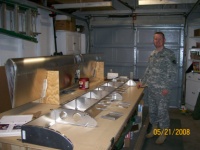
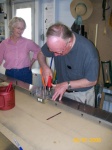
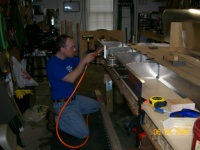
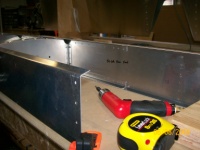
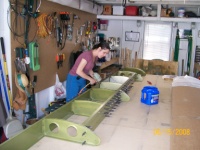
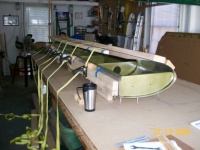
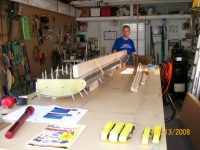
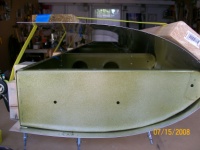
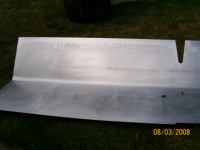
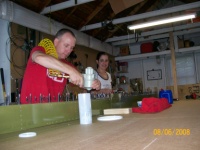
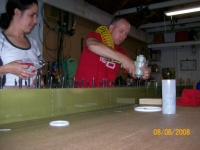
Notice the part has been rotated such that the front channel (the shorter of the two) is facing away from the elevator. Here, I have the front channel cleco'd to the ribs.
|
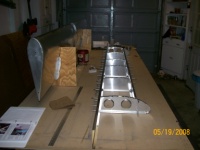
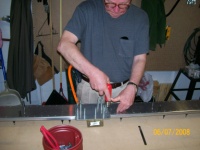
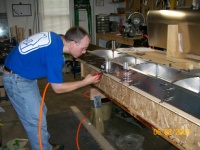
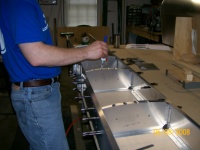
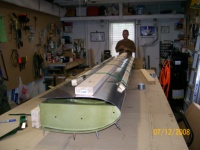
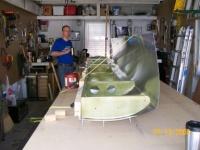
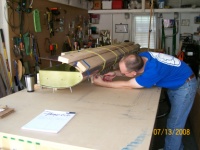
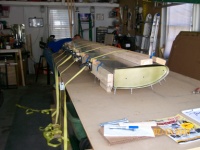
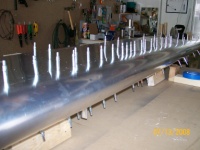
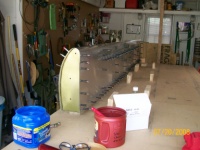
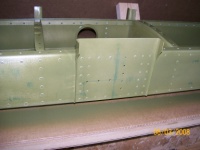
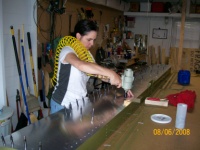
This is about 8 hours of work on the stabilizer and I've got most of the skeleton done. I still need to add the flanges that attach the stabilizer to the fuselage.
|
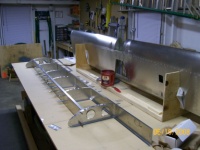
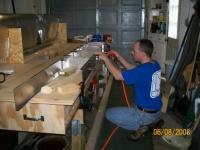
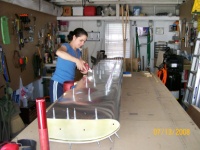
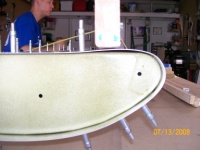
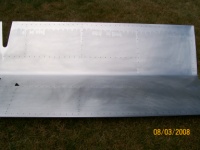
There is a short \"L\" that connects the front channel to the end rib. I'll have to trim that down prior to putting the skin on.
|
|
|
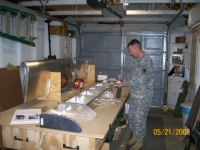
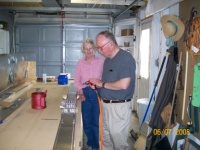
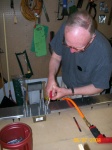
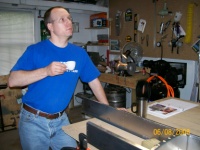
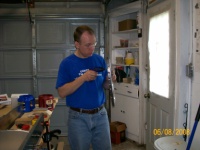
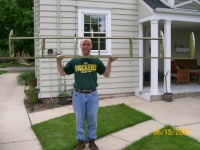
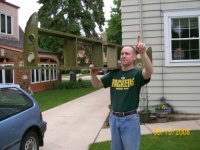
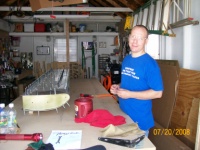
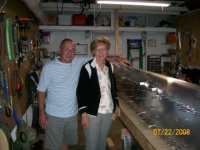
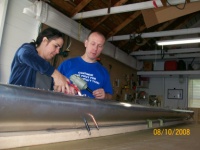
Bob was in Chicago for Army business and decided to take the opportunity to make a visit to Racine.
|
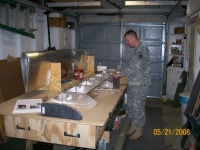
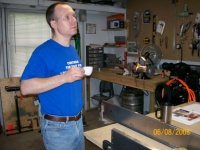
Here's Bob inspecting the rear control bracket and the horiziontal stabilizer skeleton.
|
|
In addition to the workshop, Bob was also able to see the other aircraft parts stored throughout the rest of our house (living room, basement, maid's room, workshop, second bedroom, etc.). Overall he said he was happy with the work and was excited to see the progress.
|
|
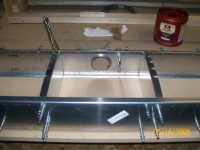
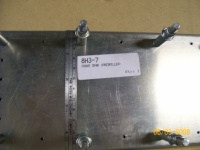
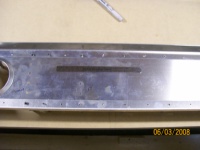
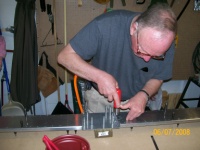
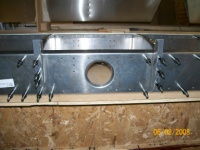
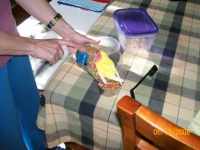
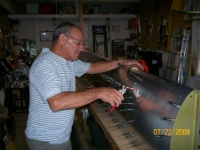
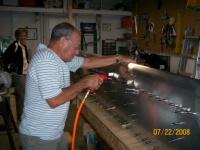
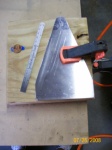
Here I've started trimming the 0.062\" thick rear bracket. The nice folks at Zenith marked the cut line for me. It's tough going with the snips, but poco-a-poco and the job gets done.
|
|
|
|
|
|
|
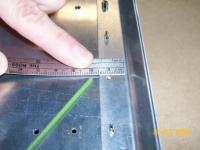
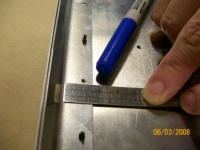
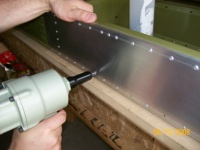
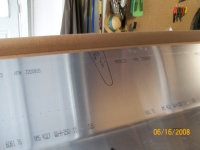
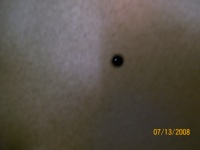
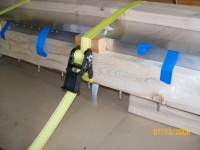
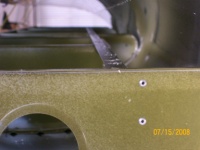
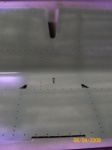
I'm trying to show here that there are several holes (pre-drilled by Zenith) that violate the 1.5d minimum edge distance rule. This hole will eventually get an A5 rivet. At 4 mm dia that means I need 6 mm edge distance. Here, I have 5mm. Only a couple holes on the spar were like this.
|

|
|
|
|
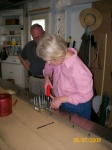
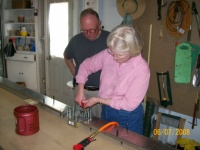
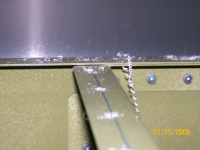
Mom and Dad came for a visit on 7June2008. I put them to work drilling out pilot holes in the rear bracket.
|
|
|
|
|
|
That hair line reminds me of someone...
|
Here's Dad learning the greatness of the cleco.
|
|
|
|
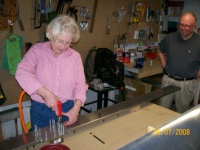
Mom was a natural.
|
|
|

|
|
|
|
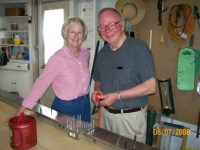
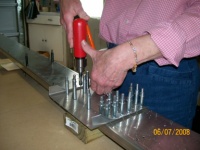
They finished the task of drilling the pilot holes for the rear bracket. A job well done.
|
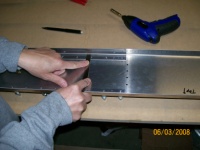
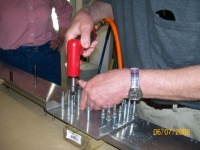
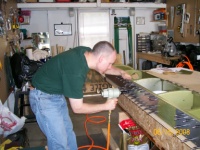
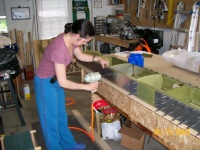
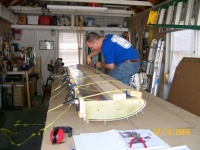
Here I am drilling out the front brackets. I emailed Zenith support one week ago asking about vertical spacing of the front bracket to the top of the spar - no reply after a week so I made it 3 mm like the rear bracket. If I were concerned, I'd call them. But, a company *should* be able to follow up on a builder's support question within a week.
|
|
|
|
|
|
|
|

|
|
|
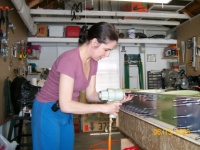
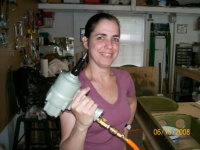
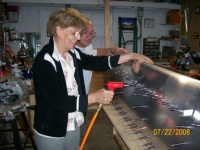
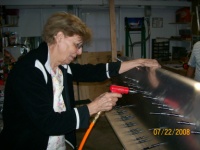
Carmen was amazed at the speed and accuracy of the edge marking tool from Avery.
|
|
|
|
La Tripita brought me some cafe-cubano. Que rico!
|
The \"Looking to the future\" pose
|
|
|
Deburring holes. What fun!
|
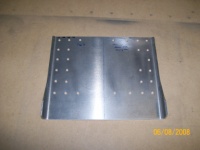
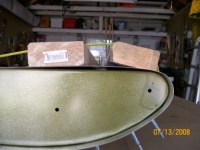
Rear bracket after I opened the holes to A5. Mom and Dad did the pilot hole drilling on this part.
|
|
|
|
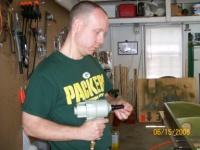
Parts after priming with PTI zinx oxide using the HVLP gun.
|
|
|
All cleco'd together.
|
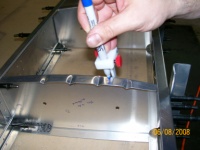
Remember, the flat side that's on the table is actually \"up\".
|
Carmen learns to rivet.
|
|
Carmen did very well riveting.
|
|
Is that a second chin I see?
|
|

|
|
Victory.
|
|
|

|
|
|
Nice hips.
|
Ben's calling his shot \"The stabilizer goes up in the air...\" Packers shirt adds a nice touch.
|
Tori likes her food straight from the container.
|
|
|

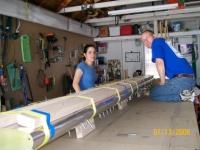
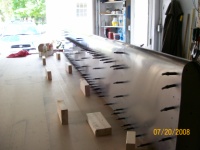
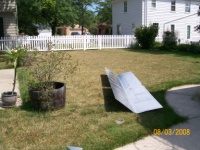
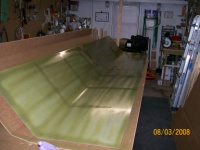
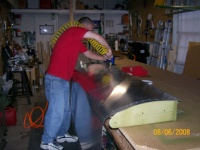
First try at lowering the skin using the normal ratcheting straps.
|
|
|
|
Got some fancy endless ratcheting straps (no hooks) from the h.Depot.
|
Poco-a-poco.
|
|
|
I'd like to say that the \"round feature\" on the back of my head was due to the flash or something like that.
|
|
|
I broke down and added two additional straps at either end (for a total of eight).
|
|
See the light at the other end of the stab?
|
|
|
|
|
|
|
Good thing that table is so strong.
|
|
|
Look at the cleco's fly.
|
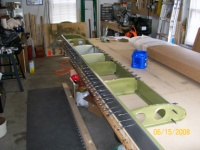
The leading edge is a little poofed up. The manual shows this and says it's acceptable. I guess it's what you get when using such a dramatically non-symetric (as in profile) stabilizer.
|
|
|
|
|
|
|
|
This is about as good as it gets for getting the skin flat to the skeleton toward the leading edge. Bet it looks worse once it's riveted...
|
|
|
|
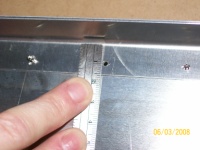
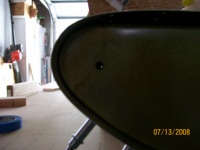
No issue with edge distance here.
|
|
|
|
|
All drilled to #20
|
|

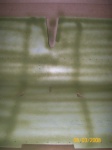
See the pillow-like shape of that last square area? I can't for the life of me see how to get rid of that. I looked online at 701-801 builders and noticed this pillow-like shape was common.
|
Elio using the clecos
|
Elio working hard.
|
|
Daisy takes a turn with the drill.
|
Daisy concentrating on the work.
|
Elio and Daisy are happy for completing their duty.
|
|

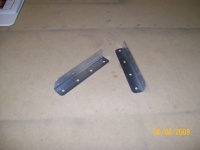
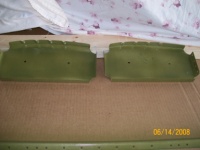
Ben making the new outboard honge plates.
|

Used the part supplied by Zenith as template for locating initial holes.
|
|
|
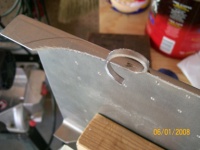
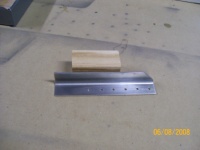
I made new outboard elevator hinge plates from 0.090\" 6061-T6. The picture showes the Zenith part in the foreground with my part in the back. I added 10 mm to the front end (side touching table) to allow for an additional rivet line. I also increased the rear radius to allow for about 2 mm more edge distance.
|
I colored my part with black sharpie so you can see the difference in size.
|
Ben get's his shear-on. Note the bottle of PBR...
|
|
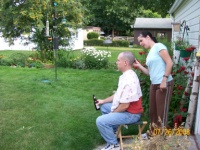
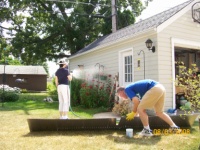
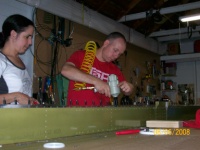
We tried out the DX533 from PPG. Let's hope the phosphoric acid and ammonium bifluoride don't kill hte grass (or make me loose more hair...)
|

I had a small bucket with a little DX533 and a maroon scotch-brite pad. A little cleaner, a little scrubbing, etc.
|
Carmen waits with the hose. She's taking advantage of using the tripod and timer.
|
|
|
Typical.
|
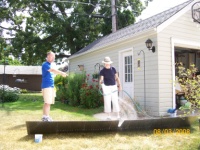
Ben pretending to be \"El Jefe\"
|
|
|
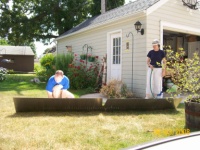
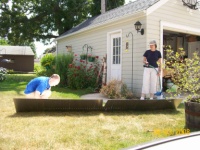
Done rinsing. It was easy to see small areas that did not get cleaned well because water would bead up at those spots. A little more cleaner and a little more scrubbing finished off the rest.
|
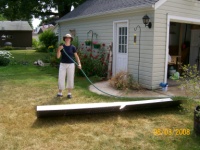
See the sheeting action as it dries moving from the left of the picture.
|
|

Typical.
|
Sheeting
|
More sheeting.
|
|
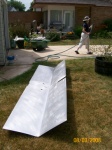
After priming the rear spar on the outside. Also touched up the skeleton and hit some rivet heads with primer for good measure.
|
|
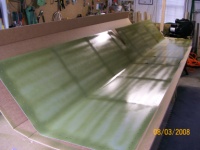
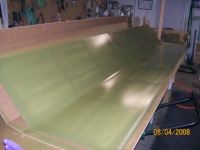
Here's the interior of the skin. I tried to concentrate on the rivet lines.
|
|
The difference between covered / not covered did not seem this extreme when looking at the skin in person.
|
|
|
|
I decided to put a second light coat. This picture is with the flash on.
|
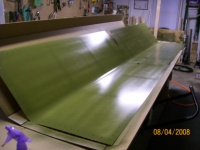
Same view - flash off
|
Center region.
|
|
You can still see the heavy application at the rivet line (good thing) and the \"field\" is filled in better than before the second coat.
|
Riveting of the horizontal stabilizer begins. 10,964 more rivets to go...
|
Carmen likes the 10 second timer feature on the camera.
|
|
Carmen riveting.
|
Rosie.
|
10,947....
|
|
10,914...
|
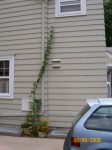
Here's the Cascade hop vine I planted this year.
|

Surprising that it's producing hop cones the first year. No aroma yet though.
|
|
Carmen on the cleco pliers and Benny with the riveter. We flipped the stab over and now we're working on the top skin.
|
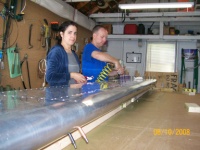
Looking good.
|
Almost there (10,834...)
|
|
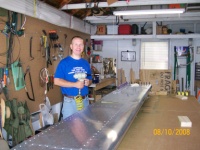
And it's all riveted together!
|
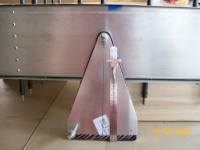
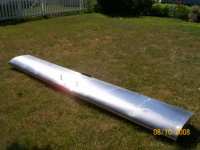
Top surface of the stabilizer.
|
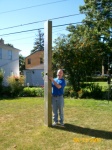
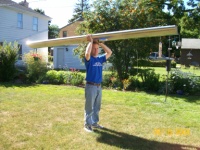
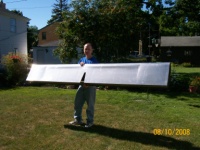
That's a pretty tall stabilizer you got there...
|
|
|
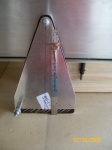
Rear view. It's upside down (side touching grass will bu 'up' when on the plane.
|
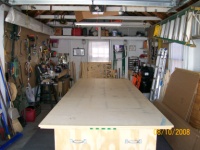
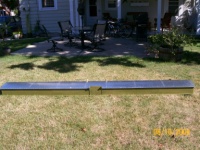
The worktable is now clear and ready for the next component: Wings.
|
|
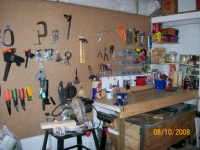
To celebrate, Carmen and I did a little shop clean-up and reorganized some tools.
|