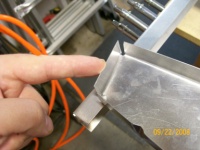
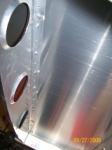
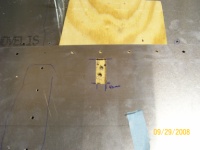
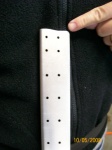
See the edge distance on the hole at the far right? That's what I got by following the directions. Decided to try my own method instead.
|

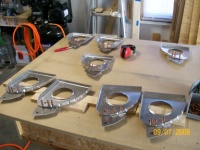
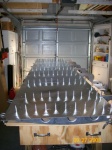
Here's the part I made (after three trys). I think I have much better edge distance than the part where I followed directions.
|
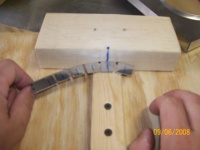
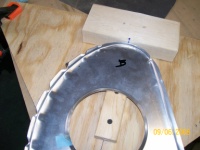
Jig used to bend stiffners and drill to nose ribs.
|
 |
|
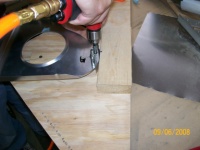
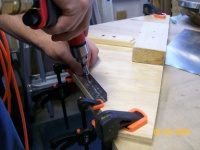
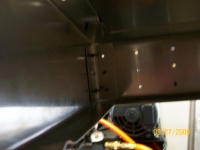
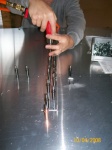
Drilling stiffner to nose rib. The stiffner is under the rib.
|
|
|
|

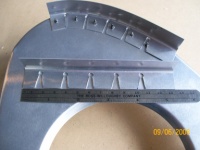
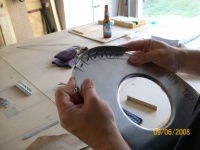
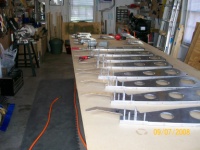
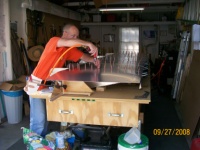
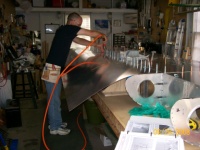
Fabricating a nose rib skin stiffner. Here I used a center punch to locate releif holes that I drilled out.
|
|
|
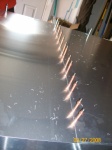
Cutting out slots in the nose rib skin stiffner. Here's where the releif holes come in.
|
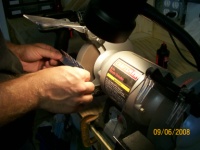
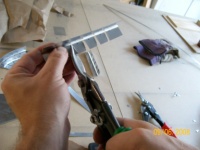
Deburring.
|
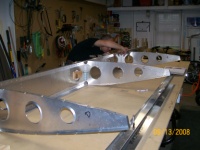
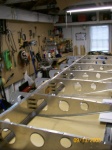
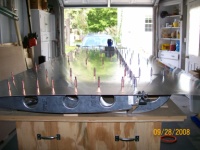
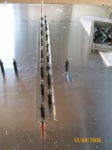
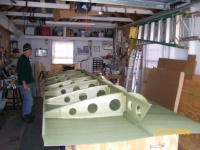
Here I have the nose ribs and wing ribs from both wings - but just the ribs that have flap or slat brackets. Each has been located at the factory. I'm drilling out everything to size (#20).
|
|
|
|
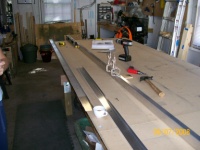
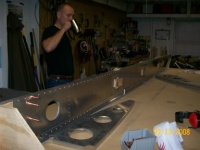
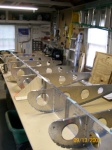
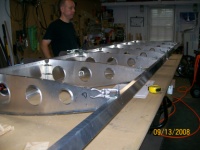
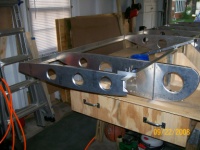
Rear spars from both wings. Each spar consists of two pieces joined with a splice plate. Note the cafecito in the foreground.
|
|

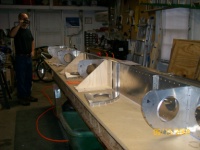
Ben getting the spar lined up on the table.
|
My lightening holes are facing forward, not backward like the manual shows (or like what I saw on other builders' sites). So I had to be a little creative on how the spar was clamped to the 90 degree jigs.
|
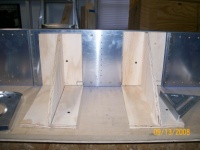
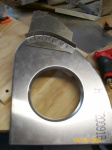
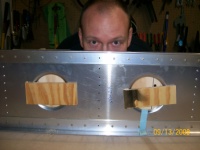
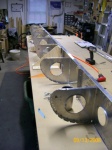
90 degree jigs.
|
|
|
|
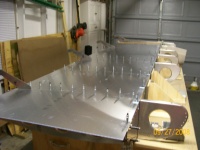
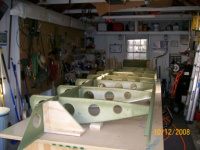
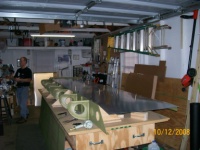
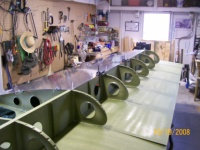
Got the nose ribs located. The wing is upside down (top is on the table).
|
|
Working on the wing ribs.
|
Used a short extrusion to line up the bottom of the rib to the bottom of the spar.
|
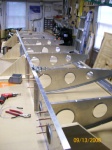
Wing ribs located.
|
|
Drilled everything to size (#20). I did the final drilling with both nose and wing ribs clecoed.
|
|
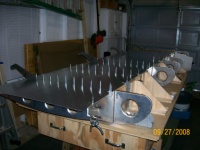
Rear spar clamped in place.
|
|
|
This is the trailing edge of the root rib. I cut off the flange I'm pointing at and replaced it with a Std L so that I could modify the length of this rib.
|
Bottom I/B skin located flush with the front edgr of the spar.
|
|
|
|
Drilling the O/B bottom skin.
|
|
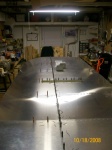
Overlap between the I/B (right) and O/B skins. The final wing will have the OB skin on top of the IB (opposite of what is shown).
|
The overhang will get trimmed later on. Remember the wing is upside down so the skin you see is the bottom skin.
|
Root rib rivet line.
|
|
Trailing edge of the root rib modified with the Std L.
|
Located the nose skin.
|
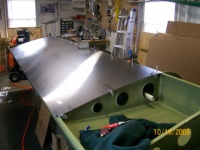
Bottom nose skin is on too.
|
|
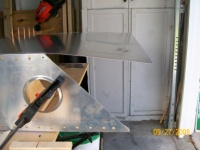
Making a cut out for the main strut attach bracket.
|
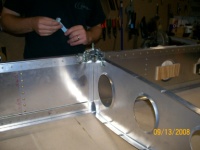
Doubler for the main strut brace. This doubler goes through rib station 4.
|
Doubler.
|
|
|

Little creative rivet locating.
|
|
|
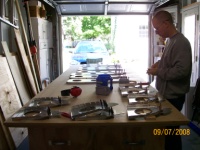
Getting ready to clean / prime.
|
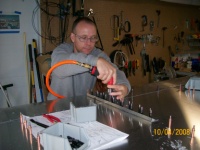
HVLP gun from Harbor Freight.
|
After priming, the wing gets re-assembled on the table upside down like it was before.
|
|
Here the skeleton is all riveted and I'm putting the bottom skins in place.
|

Riveting. This goes pretty fast once eveything is in place.
|
|
|
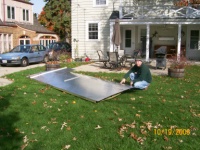
Carmen and I took the wing out of the garage to flip it over so we can work on the top side.
|
Here's the wing with the bottom side on the table.
|
Here, I'm getting ready to locate the top I/B skin. Havine already done the bottom, this felt pretty easy.
|
|
|